


Web Stories are designed to occupy the full screen, providing a very visual storytelling experience to web browsers. They look a lot like Instagram or Facebook Stories that take place on the open web, and be assured that it won’t be closed down on your face.
Web Stories are a drag to read, built with Accelerated Mobile Pages (AMP) ONLY for Google Search. But in addition to this, Web Stories actually live on your own website, so you are in control of everything, including content, branding, and monetization.
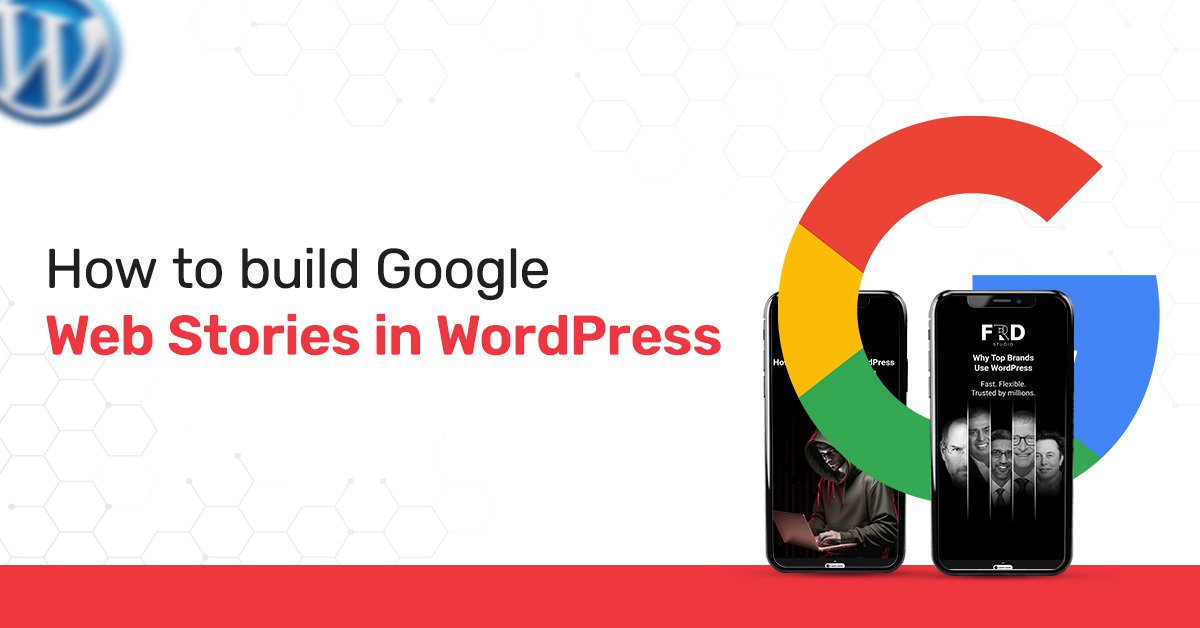
Web Stories are a new and visual way to interact with your audience using text, images, videos, and cool animations. But this is not ephemeral social media content. As a result, they are crawled and indexed by Google, allowing them to potentially rank in Google Search, Google Images, and Google Discover — a powerful new channel for attracting traffic and eyeballs, which can make any agency the top design agency in India. Well, with the official Web Stories for WordPress Plugin From Google, creating web stories has become faster and more efficient for WordPress users.
Setup – Installing and setting up the Plugin
The first step is to install the official WordPress Web Stories plugin. The plugin that Google builds enables you to easily create, control, and publish Web Stories directly from your WordPress site.
Step 1: Install the Add-on
- You can access your WordPress dashboard by logging in.
Go to Plugins > Add New.
Type “Web Stories” in the search box.
The official “Web Stories” plugin from Google will be visible to you. Press Install Now.
After installation is finished, you must click Activate.
Navigating your Dashboard and Configurations
Once activated, the “Stories” menu option will appear in your WordPress dashboard
Dashboard:
The Dashboard is the place where you can locate all your completed and unpublished stories. This provides you with a visual summary of your complete collection of Web Stories.
Configurations:
Prior to creating your initial story, it’s necessary to establish your configuration settings. Initially,
go to Stories > Settings. Here, you can:
Submit a Publisher Logo:
Establishing a branded experience is vital for stories, and your publisher logo will be added to your stories, making it a key branding component. The logo of your publisher must be a square image of high resolution, and ideally, it should be your website logo or site icon.
Insert your Google Analytics ID:
Here, you can input your Google Analytics ID to begin tracking views and comparative metrics for user interaction with your stories. You can also create story visualizations for Google Site Kit integration, which will ultimately give you a more comprehensive analysis of your stories.
Monetization Integrations:
To create revenue from your stories, you can connect your AdSense or various ad networks in this section can boost the performance marketing agency in India.
Personalized Fonts:
Should you wish to add personalized fonts that represent your brand, you can upload them too.
Building Your Initial Web Story – The Editor at Work. The WordPress plugin for Web Stories features a detailed and easy-to-use editor. It works like a drag-and-drop website builder and allows user-friendliness as well as creativity.
Here is where the enchantment occurs!
Creating a Fresh Narrative
Go to Stories > Dashboard in the WordPress admin panel.
Press the button labeled “Create New Story”
The Layout of the Web Stories Editor
The editor consists of multiple sections or regions:
Canvas: This is the space where you create your narrative, page by page.
Media Library (Left Panel):
This panel shows all of your media available in WordPress that you can add to your story. Other than this, you can easily add images and videos, such as free stock photos from platforms like Unsplash and stock video sites like Coverr, directly from the editor, which can boost the graphic design agency in India.
Element Panel (Left Panel): Here, you’ll add new components to your narrative, including text, shapes, stickers, etc.
Pages and Layers Control (Bottom): Here, you can view all the pages in your narrative, add a new page, and handle the layers on every page.
Document and Design Panel (Right Panel):
This is the context-sensitive section where you modify properties of a chosen element (e.g., font, size, color of text) or handle the document configurations of your story (e.g., title, permalink, publisher’s logo).
Creating an Engaging Narrative Page by Page
A Web Story comprises several pages, with each page conveying a single clear concept.
Include a Background: Add a background image or video for your initial page. Utilize high-quality, full-bleed images for an optimal experience
Insert Text
Utilize the text tool to include titles and main content. Make sure the text remains to the point and straightforward. A helpful guideline is to maintain your text at approximately 280 characters per page. Avoid placing excessive text on a single screen.
Add Graphics
Include additional graphics to increase your narrative, like shapes, stickers, or GIFs. You aim to create a narrative that is visually engaging.
Include Embedded Links
You might have the option to add embedded links to external sites, blog articles, or even products. This is an important method to increase traffic and engagement.
Add Animation
The editor enables you to include animation for your text and images, enhancing your story’s vibrancy and professional appearance. You can decide when and how the element shows up on the screen.
Insert New Pages
After completing a page, click the “+” to create a new page, and keep moving forward. Make sure that there is a different narrative development from the start to the finish.
Regulation and Publishing –
Making sure Your Story is Discoverable. Once you have finished creating your Web Story, you can proceed to publish it. The final step is to increase your narrative for search and create your metadata. Finalize Your Document Preferences Once you are prepared to publish, navigate to the Document section in the right panel.
Title and Permalink: Aim to create a captivating, pertinent, and appealing title for your narrative! The permalink will be generated automatically, but you can modify it to something more practical or with improved SEO.
Poster Image:
This is the image that symbolizes your narrative when a user is searching or appears on your website. It goes without saying, but you need this to be an appealing, high-quality image with a 3:4 aspect ratio.
Publisher Logo:
Ideally, you should have your publisher’s logo uploaded in this area.
Story Summary:
Provide a short, direct summary of your narrative. This enables Google and users to swiftly grasp the narrative.
Categories and Tags:
Include correctly assigned categories and recognized tags. This enables you to arrange and enhance the discoverability of your narrative on your website.
Effective Strategies for Making Sure Success
To optimize your narrative, keep these recommended practices in mind:
Quality Content Reigns Supreme:
Similar to all content types, quality remains the key factor for your Web Story. Provide value through a unified narrative
Brief and Concise:
Web Stories cater to rapid and mobile viewing. Target a length of 5-15 pages and make sure that the reader can quickly “comprehend” the content at a glance.
Complete Screen and Edge-to-edge:
Utilize high DPI and edge-to-edge images and videos to fully engage your audience.
Make Text Concise:
A lengthy paragraph isn’t necessary. Headlines and brief articles are much superior.
Video Subtitles: Add subtitles and captions to videos to engage users who are viewing without sound.
Action Links: add “Action” links when suitable. For instance, in a narrative concerning recipes, a connection to the complete recipe blog article would be acceptable.
Enhance Your Media Files: While the plugin manages a lot of the technical optimization, confirm that the sizes of your images and video files are not excessively large.
Releasing and Integrating
Once you are pleased with your story, you can select the Publish button. Your Web Story is now live with its own URL, just like your standard blog posts and pages.
Integrate on your website:
An additional method to enhance discoverability and interaction is to integrate your Web Story within a relevant blog post or blog page. The plugin already offers a Gutenberg block for any post or page you are working on. This will facilitate the addition of a “Web Stories” block and allow you to choose the desired story. You can accomplish this in your sidebar or any widget you prefer.
Moving past the fundamentals – Enhanced techniques and problem-solving. After you get accustomed to making Web Stories, there are more advanced techniques to investigate.
Monetization:
Once you link your ad network, you can start earning from your stories. The plugin will position every ad is enjoyed unobtrusively.
E-commerce:
If you operate an online shop, utilize Web Stories to showcase your products! The plugin features native integrations with platforms such as WooCommerce that enable you to tag your products.
Monitoring and Analysis:
Keep an eye on the information in your Google Analytics to identify which stories are achieving the best performance! You can monitor page views, duration on the stories, and also click-throughs on your links. You can add this information to your content strategy going forward.
Troubleshooting:
For any issues with the plugin, the plugin documentation contains valuable information, and User forums are available in the support area. Common problems include image formatting or technical issues, typically resolved by troubleshooting plugin settings and following best practices.
Conclusion:
Today’s Content for Tomorrow: Creating Google Web Stories on WordPress is more than a chore; rather, it is a content strategy that will protect your content strategy for the days to come. With the official Web Stories plugin for WordPress, you can provide more visually rich and immersive stories that strengthen your existing audience interaction while possibly gaining a new presence within Google.
So the process of creating Google Web Stories is easy, and with this user-friendly tool comes a good potential to take traffic, interaction, and even monetization opportunities for fresh content, too. Having read this, you’re on the path to becoming the greatest visual storyteller you aspire to be.